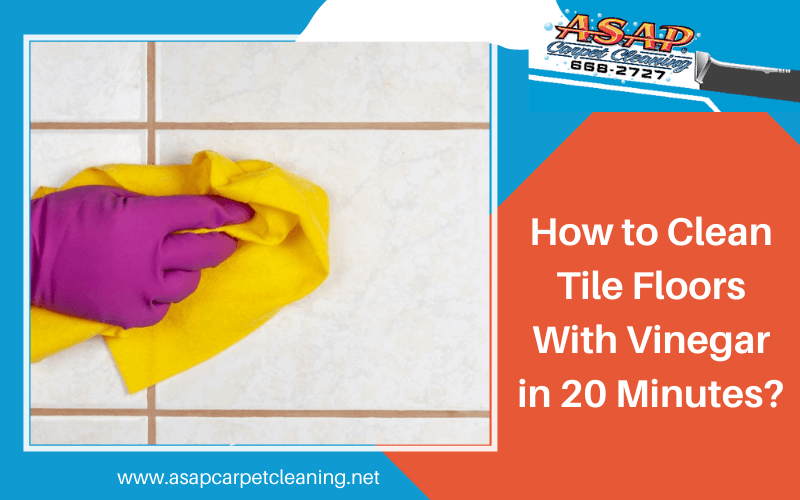
How to clean tile floors with vinegar: Mix equal parts white vinegar and warm water, remove loose dirt, and mop the surface using a microfiber mop. This simple method helps remove everyday grime from ceramic and porcelain tile floors without using harsh chemicals.
Tile floors are durable, attractive, and easy to maintain, but they still collect dust, spills, grease, and grime from daily use. If you’re looking for a DIY tile floor cleaning solution that skips harsh chemicals, white vinegar is an affordable option you likely already have in your kitchen.
Used correctly, it can leave ceramic and porcelain tiles looking fresh while helping maintain a cleaner home. However, it isn’t suitable for every tile type. Understanding where and how to use it will help you achieve better results without risking damage to your flooring.
In this blog, you will learn how to clean tile floors with vinegar, where you should be cautious, and when it’s not enough! Let’s hop on!
Is Vinegar Safe for All Tile Floors?
Vinegar is an acidic cleaner that works well on many manufactured tile surfaces, but not all flooring materials respond the same way. Before cleaning, identify your tile type to avoid dull finishes, surface damage, or weakened grout.
Tile Types That Can Be Cleaned With Vinegar
Ceramic and porcelain tiles generally handle diluted vinegar well because they have durable, non-porous surfaces. Vinyl-look tile with sealed grout may also benefit from occasional vinegar cleaning when used correctly and followed by proper drying.
Tile Surfaces You Should Never Clean With Vinegar
Avoid vinegar on natural stone surfaces such as marble, travertine, limestone, slate, or granite. The acid can etch the finish, dull the shine, and permanently damage protective sealers, leading to costly repairs or restoration.
How Vinegar Affects Grout Over Time
Occasionally diluted vinegar is usually safe on well-sealed grout, but frequent exposure can gradually weaken older or unsealed grout. If your grout already has cracks or wear, choose a gentler cleaner to help preserve its condition.
What You’ll Need Before You Start
Having the right supplies ready makes the cleaning process quicker and more effective. Most items are already available at home, and together they create a simple natural tile floor cleaner that handles everyday dirt with minimal effort.
Supplies Checklist
- White distilled vinegar
- Warm water
- Bucket
- Microfiber mop
- Soft microfiber cloth
- Spray bottle (optional)
- Soft-bristle brush
- Baking soda (for stubborn stains)
- Vacuum or broom
- Rubber gloves (optional)
How to Clean Tile Floors With Vinegar (Step-by-Step Guide)
Now that you know which tiles are safe to clean, it’s time to start. A homemade vinegar tile floor cleaner can remove everyday dirt and light stains without relying on harsh chemicals. Following each step carefully can protect your tile while leaving it fresh and streak-free.

Step 1: Remove Loose Dirt and Debris
Begin by sweeping, vacuuming, or dust-mopping the entire floor to remove loose dirt, dust, pet hair, and small debris.
Cleaning before mopping will prevent dirt from turning into muddy residue and reduce the chance of scratching the tile surface while you work.
Step 2: Mix the Vinegar Cleaning Solution
Now, fill a bucket with equal parts warm water and white vinegar. For lighter cleaning, you can reduce the amount of vinegar if your floor only has minor dirt.
Avoid making the solution too strong, as excessive acidity isn’t necessary for routine cleaning and may affect grout over time.
Step 3: Mop the Tile Floor Correctly
Dip the microfiber mop into the solution, wring out excess liquid, and mop the tile floor with vinegar using smooth, overlapping strokes across small sections.
Rinse and wring the mop regularly so you don’t spread dirty water back onto clean areas. This helps achieve a more even finish.
Step 4: Rinse the Floor if Needed
If your tiles have a sticky residue or you used extra vinegar for stubborn grime, rinse the floor with clean water after mopping.
This simple step removes leftover residue and leaves the surface looking cleaner, especially on glossy tile finishes.
Step 5: Dry the Surface to Prevent Streaks
Once cleaned, allow the floor to air dry or wipe it with a clean microfiber cloth immediately after mopping.
Drying helps prevent water spots, streaks, and slippery surfaces while giving your tile floor a cleaner, brighter appearance.
How to Clean Stubborn Grout Stains
If regular mopping doesn’t remove dirt from grout lines, how to clean tile grout with vinegar becomes the next question. Vinegar and baking soda can loosen surface stains, making grout easier to scrub without excessive effort.
Step 1: Apply Vinegar to the Grout: Spray diluted white vinegar directly onto the stained grout lines and let it sit for a few minutes to loosen dirt and buildup.
Step 2: Add Baking Soda: Then, sprinkle baking soda over the damp grout. It will react with the vinegar to lift surface grime and residue from the grout lines.
Step 3: Scrub Gently: Use a soft-bristle brush to scrub the grout with gentle pressure. Work in small sections to avoid spreading loosened dirt across the floor.
Step 4: Rinse and Dry: Wipe away the residue with clean water and a microfiber cloth. Dry the grout thoroughly to prevent moisture from settling into the joints.
Common Mistakes to Avoid When Cleaning Tile With Vinegar
Although vinegar is an effective household cleaner, using it incorrectly can reduce cleaning performance or even damage certain flooring materials. Avoid these common tile and grout cleaning mistakes to keep your tile and grout in good condition.
- Using Too Much Vinegar: A stronger solution doesn’t always clean better. Excess vinegar can leave residue and may gradually affect unsealed grout.
- Mixing Vinegar With Bleach: Never combine vinegar and bleach. Mixing these products creates harmful chlorine gas that can be dangerous to your health.
- Letting the Solution Sit Too Long: Leaving vinegar on tile for extended periods increases acid exposure, especially around grout and sealed surfaces. Clean and rinse promptly.
- Skipping a Spot Test: Always test the cleaning solution on a small, hidden section first to confirm it won’t discolor or damage your flooring before cleaning the entire area.
When Vinegar Isn’t Enough, Call Professionals for Deep Cleaning
While understanding how to clean tile floors with vinegar is useful for routine maintenance, vinegar alone may not remove deeply embedded dirt or stained grout. Over time, deeply embedded dirt, grease, mold, soap scum, and stained grout can become difficult to remove with household solutions alone. If you’re trying to deep clean tile floors that have lost their original appearance, professional equipment and techniques can deliver more thorough, longer-lasting results.
Even with the best tile and grout cleaning tips, some floors require more than DIY maintenance. At ASAP Carpet Cleaning, we use professional-grade equipment and safe cleaning solutions to remove stubborn buildup from tile surfaces and grout lines without causing unnecessary wear.
Whether your floors have years of accumulated grime, heavy foot traffic, or discolored grout, our experienced technicians tailor the cleaning process to your flooring type for exceptional results.
Contact us today to schedule professional tile and grout cleaning and bring back the clean, polished look of your floors.
FAQs
How often should you clean tile floors with vinegar?
For most homes, mopping with a diluted vinegar solution every one to two weeks is sufficient. High-traffic areas may require more frequent cleaning, while occasional sweeping or vacuuming between mopping sessions helps keep dirt from accumulating.
Can I use vinegar on porcelain tile floors?
You can. Sealed porcelain tiles are generally resistant to diluted vinegar, making it a practical cleaning option for routine maintenance. Avoid using highly concentrated vinegar and always dry the surface after cleaning to reduce streaking.
Is vinegar safe for ceramic tile?
Yes, vinegar is typically safe for ceramic tile when diluted with water. It helps remove everyday dirt and grime without damaging the tile surface. However, avoid excessive use on damaged or unsealed grout surrounding the tiles.
Can vinegar damage grout?
Over time, frequent use of undiluted vinegar may weaken older or unsealed grout because of its acidic nature. Using a diluted solution occasionally and keeping grout properly sealed helps reduce the risk of deterioration.
Do I need to rinse after mopping with vinegar?
Rinsing isn’t always necessary for lightly soiled floors, but it is recommended if you used a stronger solution or cleaned heavy dirt. A quick rinse removes residue and leaves tiles looking cleaner and brighter.
Can I mix vinegar and baking soda for tile floors?
Yes, but mainly for spot cleaning or grout stains rather than everyday floor cleaning. The fizzing reaction helps loosen surface dirt, making it easier to scrub away before rinsing the area with clean water.
What is the best vinegar-to-water ratio for mopping tile floors?
A 1:1 mixture of white vinegar and warm water works well for many ceramic and porcelain tile floors. For routine maintenance or lightly soiled floors, using more water than vinegar provides effective cleaning while being gentler on grout.